Denison Hydraulic Repair Part 1
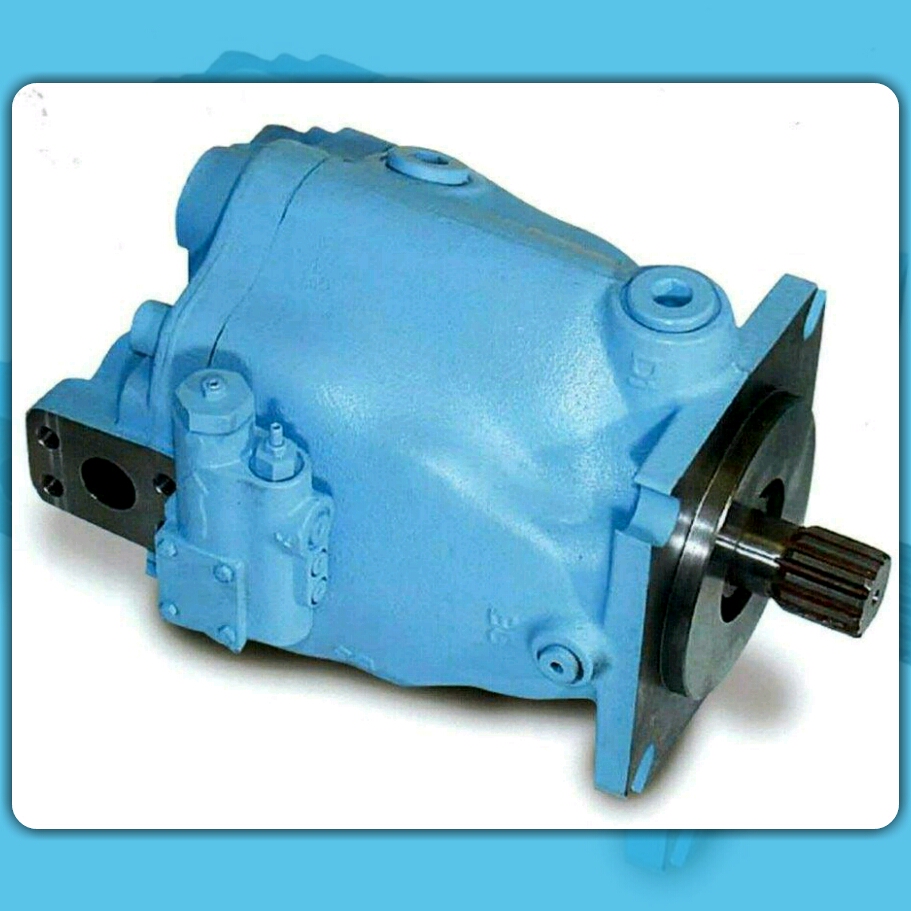
Denison Hydraulic Repair Part 1
January 16, 2018 Comments Off on Denison Hydraulic Repair Part 1Port Assembly
1. Put in the port block (1) on a clean flat area
with the two open ports up. THE OTHER SIDE OF THE
FACE MUST NOT BE SCRATCHED OR
DAMAGED. PLACE needle bearing (2) on
tool (Figure T-5) with the labeled end of the
bearing next to the shoulder on the tool and
press the bearing (2) into the port block. The
bearing must be .010-025 below the surface.
2. Condense check ring (3) and slip into the two
1.50″ ports and corresponding holes in the ring with the
side holes in the port wall.
3. Need lock washers (6) on particular screws (5). Put in
(5) throughout the port wall and drilled holes in checks (3)
and thread into clamps (4). Torque to 10ft. ids.
There is only need for one check assembly on open loop pumps.
4. Strand the socket pipe plugs (8) into port block.
5. Pass through two check valve assemblies (7) into
valve face of port block.
6. Place O-ring (10) on hollow hex plug (9) and
thread into tapped hole in top of the port
block.
Call Today
FREE Quotes
24 Hour Service
Fast Turn Around
MOUNTING PORT BLOCK ASSEMBLY See Figure 8
Put the pump with the unplugged hole in the housing assembly at the 12 o’clock spot.
Place the gasket (5) on the housing assembly (6).
Mount the two special pins (3) in the face of the port block assembly. Submit an application of petroleum jelly or heavy grease to the plate (4) and pose port plate over the pins (3) on the port block.
Slip the port block assembly and port plate over the end of the secondary shaft. Always make certain that tubes 2, 3 and 4 shown on Fig. 4 are seated and that the port plate (4) is at rest on the pins (3).
As soon as the pump is correctly assembled, the valve-mounting surface will be at the top of the unit.
Fit the four bolts (1), and torque to 150ft. Ibs.
Hydrostatic Parts and Denison Hydrostatic Repair
HOUSING ASSEMBLY
See Figure 5
1. Place housing (1) on a clean flat area
with the large open end up.2. Put bearing (2) in the housing bore. Put in
Pressing Plug tool (figure T-4) in the bearing.
With an even amount of steady pressure, press the
bearing into the housing bore until seated. HAMMERING OR BEATING INTO PLACE IS NOT RECOMMENDED3. Rotate housing (1) on side and put together roll pin (4)
in the Vi” through hole in the control cover pad.
The pin needs to be 3/8″ under the pad area.
THE PIN END SHOULD NEVER COME IN CONTACT WITH
THE INTERNAL BEARING CAGE. Take two
dowel pins (3) in the blind holes in the same pad.4. Do this operation 3 on the opposite side of the
housing.5. Put O-ring (5) on plug (6) and place in
bottom of housing (1). (Roll pins (4) are in
bottom half of housing.)ASSEMBLY FOR PARTS IN FIGURE 6
1. Put the three faceplate pins (1) in the holes that are in the barrel face.
2. Put a generous amount of grease to the face of the barrel and
place the face plate (2) over the pins (1) in the barrel.
Always check to make sure the faceplate is properly seating on the barrel and pins with the steel side facing the barrel face. The Series 7.25 has only one side bronzed and this should be toward the port plate. If essential, remove coating from edge of faceplate to establish bronze side.
3. Put in the gasket (3) over the two dowel pins(item 6 on Fig. 4) in the mounting flange
4. Position the Housing assembly (4) over the Barrel and Auxiliary Shaft assembly and carefully guide the pressure tubes and tube lines (items 2, 3 and 4 on Fig. 4) through the Housing assembly (4).
Hydrostatic Transmission Service,LLC
Situate the pump in an horizontal position with the port block inlet and outlet pads turned facing down.
Setup the shaft and bearing (1) assembly in the mounting flange and cradle. Always check to see that there are no burrs or sharp edges on shaft seal surface of the shaft.
For a stiff shaft application use the shim (2) that results in the smallest amount clearance around the shaft bearing. It is very important not to use a shim with a floating shaft.
Fit the snap ring (3) in the mounting flange to keep the Shaft Assembly. Always line up the ring so that it is fully seated in the groove. The ring with the tightest fit is going to give the best results.
SEAL ASSEMBLY
The seal assembly (4) comes as a complete unit only.
Warning
Previous to installing the seal assembly inspect all the parts. The lapped seal seat and the carbon ring have a meticulousness finish that must be handled with care. .Certainty that both parts are free of scratches, marks and cracks.
Rest the spring retainer (e) over the shaft and alongside the retaining ring on the shaft assembly. Situate the spring (d) alongside the retainer (e). Apply grease to the inside surface of the rubber friction ring (f) and arrange the shell containing the rubber friction ring (f) and carbon ring (c) over the shaft with the carbon ring uncovered. Apply grease to the square segment rubber seal (a) and fit on the cast iron seat (b). Insert the seat and seal in the seal retainer (6) with the lapped side of the seat in position to contact the carbon ring. Place the seal retainer assembly and gasket (5) over the shaft with the lapped surface beside the carbon face. Set the four gaskets (7) on the four screws (8) and include the seal retainer (6). Lower the seal retainer only far as necessary to start the four screws and tighten equally. Torque to 10 ft. Ibs.
NOTE
To avoid the rubber friction ring from seizing on the shaft the seal installation should be done as quickly as possible.
COUNTER-BALANCE SERVO STEM ASSEMBLY
Consign the two spacers (11) on the two screws (12) and put in through the balance plate (10) and servo stem (9).
Introduce these parts through the opening in the side of the housing assembly and place the screws over the two 10-24 tapped holes in the rocker cam.
Embrace these parts adjacent to the cam and alternately tighten the screws (12) to hold the assembly steadfastly in place. Torque screws to 5 ft. Ibs.
Call us for more information
800-361-0968
sales@hydrostatic-transmission.com